

Last Updated on March 17, 2020 by Heather Hart, ACSM EP, CSCS
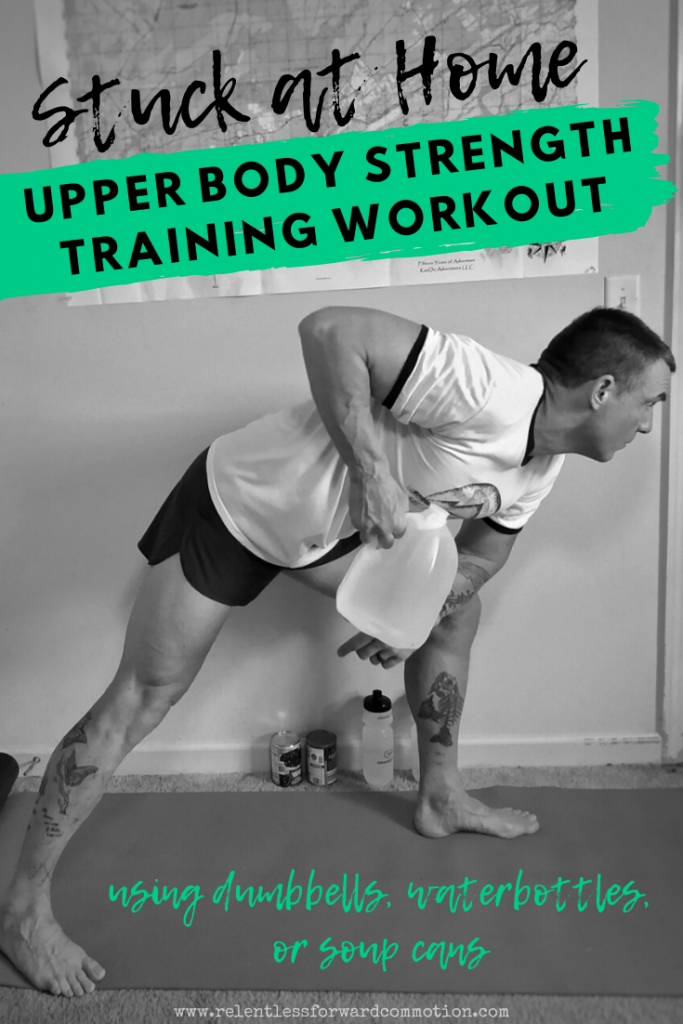
Well, here we are friends. I never imagined that I’d go from writing about how to survive the overnight, hallucination hours of a 100 mile ultramarathon to sharing an at home upper body strength training workout that can literally be done with soup cans and a gallon of water. But, desperate times call for desperate measures, and I know that many of my clients are feeling desperate for some normalcy during these chaotic times.
So, is your gym closed? Don’t have any strength training equipment at home? Me either! (I’m serious!) But you can still get in something that resembles a workout, with or without weights. Let’s get our EPOC on, shall we?
Disclaimer: I am an ACSM certified Exercise Physiologist, and believe all of these exercises to be safe for most healthy individuals. However, this workout should not be taken as a personal prescription. Perform all exercises at your own risk. Please check with your physician before beginning any new exercise routine.
WEIGHTS:
For this upper body workout, you can absolutely use dumbbells or other strength training equipment if you have it. If you do not have it, you can use soup cans and/or a gallon of milk…or anything that is sturdy and weighs SOMETHING. Examples include:
- Standard soup can: about a 1/2 of a pound
- Gallon of water: 8.34 lbs
- Sport water bottles full of water. Each ounce equals about 0.063 pounds of water. So a 20 ounce bottle, full, will weigh approximately 1.26 lbs. Bonus tip: fill that water bottle with small rocks/stones. It will be even heaveier!
- Your cat, small dog, toddler, etc. (Kidding. Maybe. I’ve definitely done cat curls before…)
Is any of this ideal? NO. But some resistance against your muscles is better than no resistance against your muscles. And some days, some exercise is better for your mental well being than no exercise.
SETS & REPS
This is where it gets a little tricky. If you are using standard dumbells or other weights, I’d suggest finding a weight that you can comfortably and safely perform the exercise for 3 sets of 10-12 repetitions.
However, for many of you, a 1.5 lb water bottle or 8.3 lb gallon jug is far lighter than the weight you are used to. So instead of a set number of reps, I encourage you lift until you feel muscular fatigue.
Another option is to slow your entire lift down. Instead of completing the movement in the standard 2-3 seconds up, 2-3 seconds down…slow your pace way down. Focus on the muscular contraction, and breathe as you slowly lift, extending closer to an 8-10 second up/8-10 second down movement. You’ll be surprised at how much harder this can be.
Either way, focus on form, not speed, when going through these exercises. Each part of the exercise should be performed at the same, consistent rate of speed. Be aware of your body’s positioning, always engaging the core and keeping the spine neutral. BREATHE throughout the exercise, do not hold your breath. Exhale during the hard part of the exercise (the contraction), inhale during the easy part of the exercise (the release).
THE WORKOUT:
Warm-up:
Start with the following warm-up to get the blood flowing to your muscles, preparing them for the workout. No equipment is needed. Perform each exercise for the number of repetitions listed, then move on to the next exercise. Repeat the list three times.
Inchworm: 5 repetitions
From standing position, bend forward and place your hands on the floor. Absolutely bend your knees if needed. Then, using your hands, walk yourself forward into a plank position. After a pause, use your hands to walk back towards your body, and return to standing.
Wall push-up: 10 repetitions
Start with your feet hip width apart, facing a wall. You’ll want your feet about a foot and a half to two feet away from the wall. The further away you are from the wall, the harder the push-up will be. Place your hands on the wall in front of you, just below shoulder height. Now, keeping your core tight (flat like a plank), bend your elbows to lower your face towards the wall. Don’t reach for the wall with your nose: keep your spine and neck neutral.
Dynamic increasing arm circles: 10 in each direction
Stick your arms straight out to the sides, making a “t” out of your body. Slowly rotate your arms forward in small arm circles. With each rotation, make your circle slightly bigger. The idea is that by the time you reach ten rotations, you are using full range of motion. Repeat in the other direction.
WORKOUT:
Set 1:
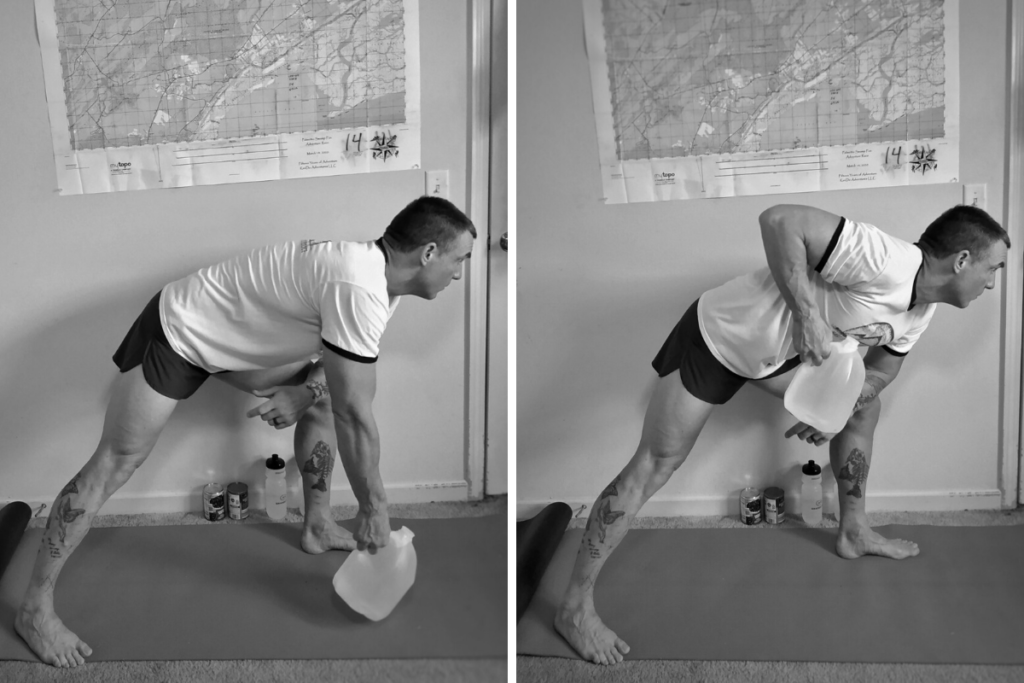
Single Arm Bent Over Row
Stagger your stance with your left foot in front of the right foot. Hinge forward at your hips, with your back flat. Place your left hand or forearm on your left thigh for support. Place the weight in your right hand, hanging towards the floor. Now, squeezing your back, bend your elbow, keeping it close to the body, and row the weight up towards your chest. Slowly lower back to starting position.
Chest Press
Lay on your back on a supportive, firm surface. I suggest either the floor or bench, if you have one. Avoid softer surfaces like the couch, your bed, etc. Weights in hand, bend your arms at 90 degrees, hands pointed towards the ceiling. Slowly push the weights towards the ceiling and towards your center line, bringing your hands together. Return to starting position.
Set 2:
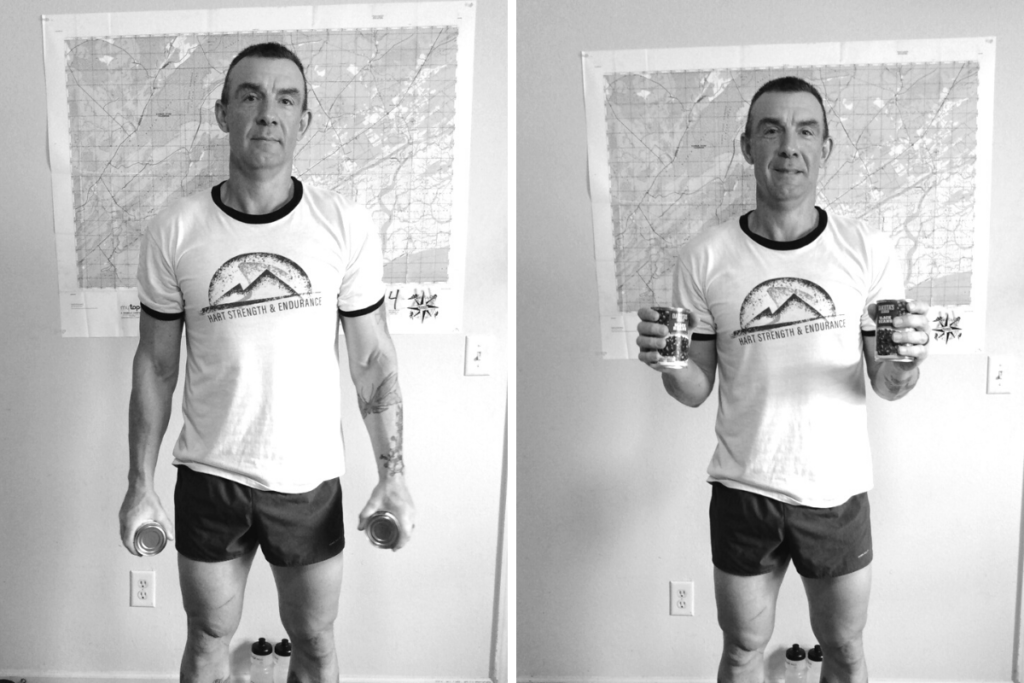
Upright Row
This exercise can be done with one weight in each hand, or, one heavier weight in both hands.
Stand tall with weight in hands, palms facing your body. Keeping your hands close to your torso, bend your elbows as you lift the weight towards your chin. Lead with the elbows, let your shoulders pull the weight up. Slowly lower in the opposite direction back to start.
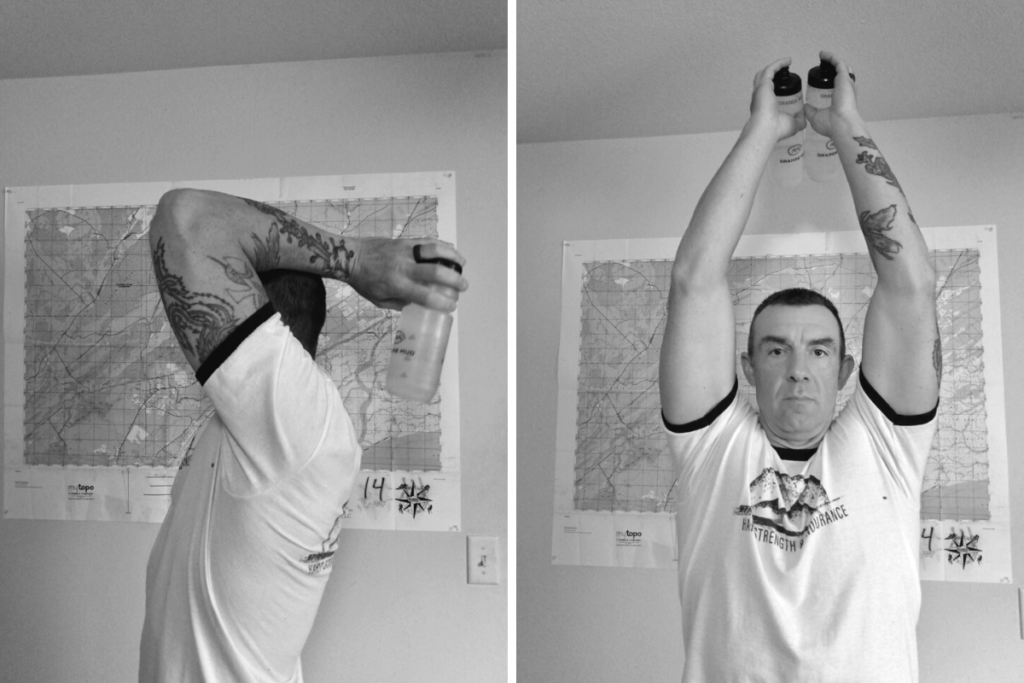
Overhead Tricep Extension
Hold a single, heavy weight in both hands over your head. Keeping your elbows in , upper arms parallel to each other. Slowly lower the weight behind your head, bending at the elbows. Return to starting position.
Set 3:
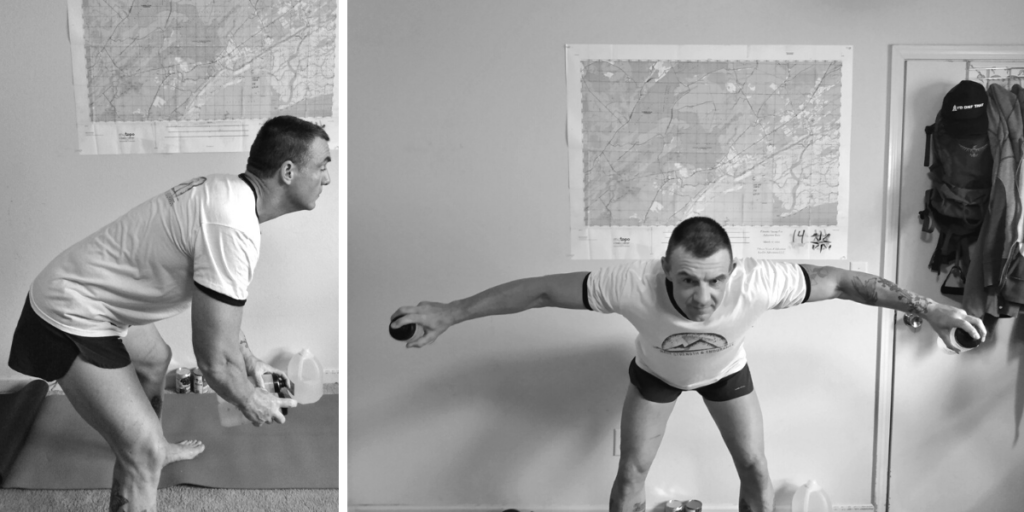
Reverse Fly
Stand with your feet hip width apart, nice and tall, core pulled in tight. Hinge forward at your hips to form a 45 degree angle at your hips. Weights in hands, hanging down towards the ground. Now, with a slight bend in your elbows left your arms out to the sides, almost as if you are a bird flapping your wings. BUT- be sure to lift with CONTROL. Do not use momentum to swing. Once your arms are parallel or close to parallel to the ground, return carefully to starting position.
Pushups
Start in a similar position to your plank, except on your hands instead of on your forearms. Arms are shoulder width apart, or perhaps slightly wider. Core is tight and engaged, hips are in alignment with your spine (not sticking up or sagging towards the ground). Support your body weight with your toes (standard pushup) or knees (modified pushup). Lower your chest towards the ground. Keep your neck neutral with your spine, do not try to reach for the ground with your nose! Think “chest to ground” first. Then, push yourself back to the starting position with your upper body, keeping your core tight.
Set 4:
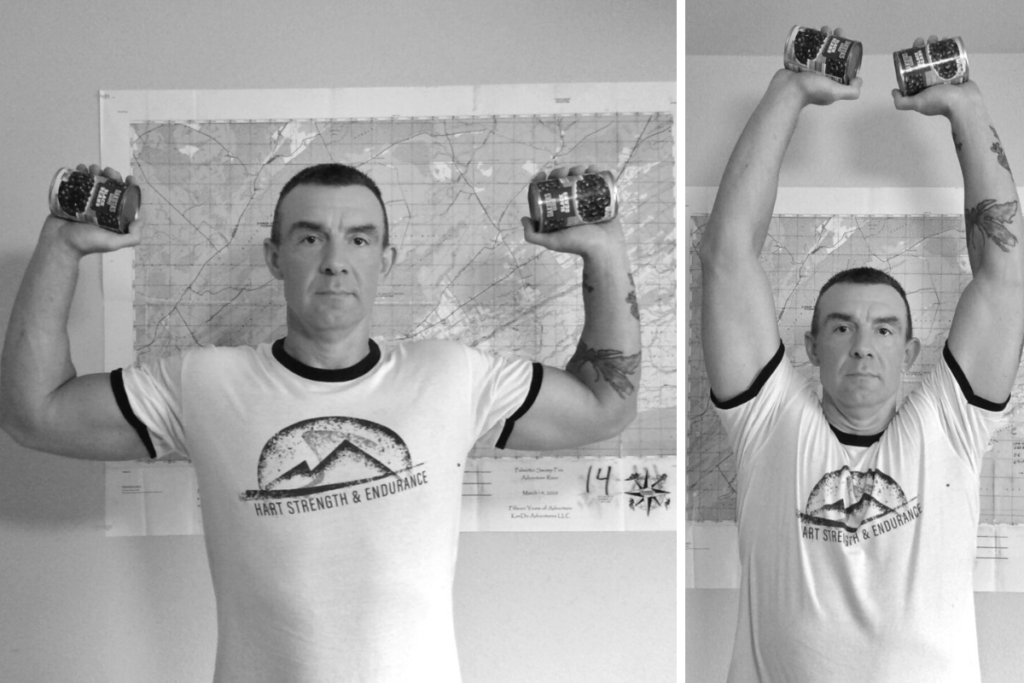
Overhead Shoulder Press
Stand with your feet hip width apart, nice and tall, core pulled in tight. Weights in hand, bend your arms at 90 degrees, hands pointed towards the ceiling. Slowly push the weights towards the ceiling and towards your center line, bringing your hands together. Return to starting position.
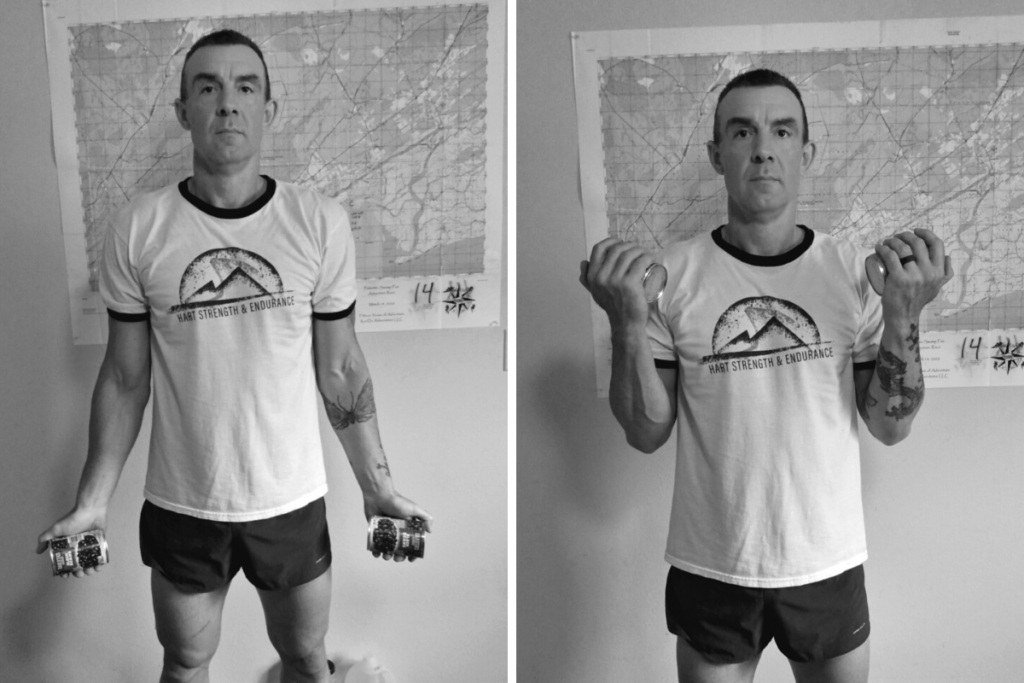
Bicep Curls
Stand with your feet hip width apart, nice and tall, core pulled in tight. Weights in hands resting at your sides, palms facing forward. Bending at the elbows, curl your palms towards your shoulders, while keeping your elbows at your side.
Set 5:
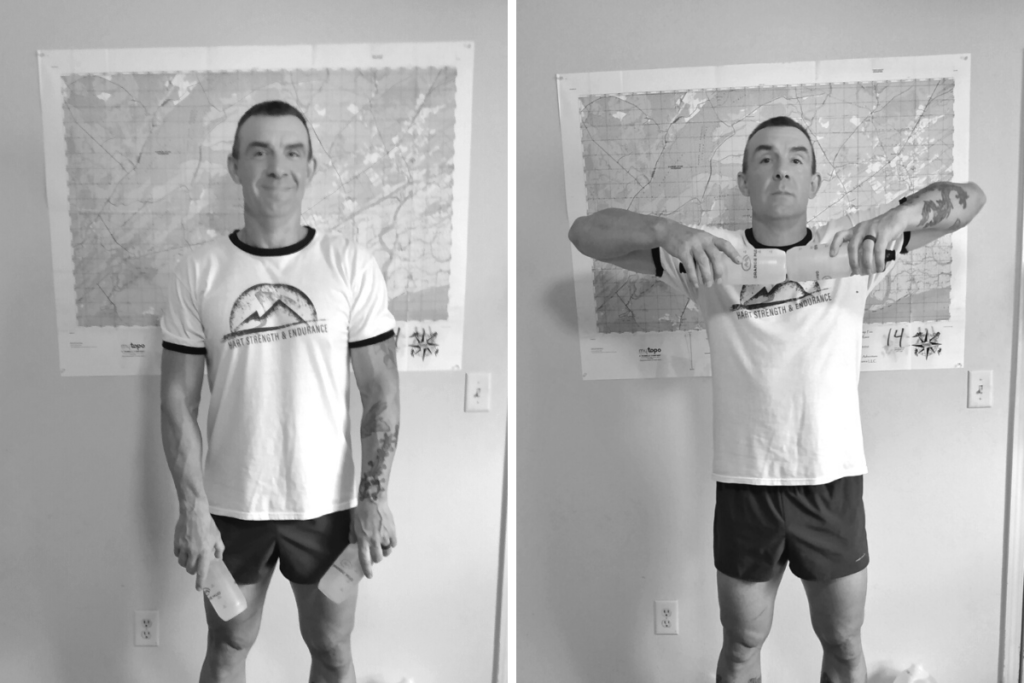
Alternating Front and Lateral Raise
This one not only challenges your shoulders, but your coordination! Stand with your feet hip width apart, nice and tall, core pulled in tight. With a weight in each hand, you want to lift one arm straight forward until it is parallel to the floor. AT THE SAME TIME, lift the opposite arm laterally until it is parallel to the floor. Return both arms to the start. For your next rep – switch directions.

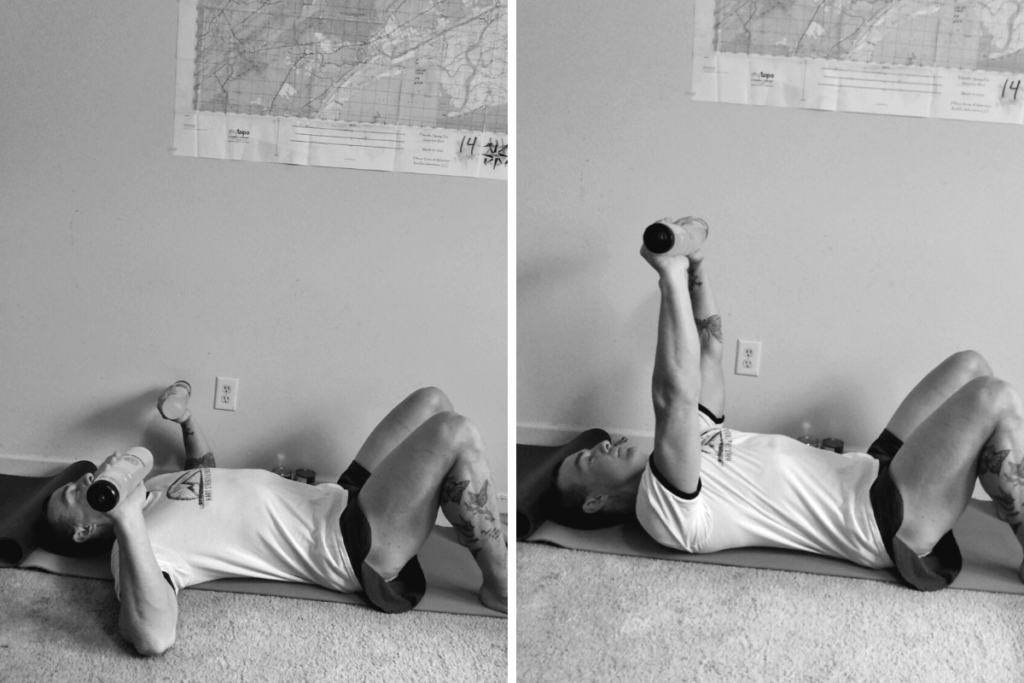
Pullovers
Use one heavier weight if possible. Lay on the floor, a bench, or another firm, stable surface. Start with your arms straight overhead with the weight touching or almost touching the floor. Slowly lift until the weight is perpendicular to the floor, arms straight above your chest. Carefully return to starting position.

Set 6:
Hammer Curls
The same as bicep curls, except this time, you’ll want your palms to face inwards, towards each other.
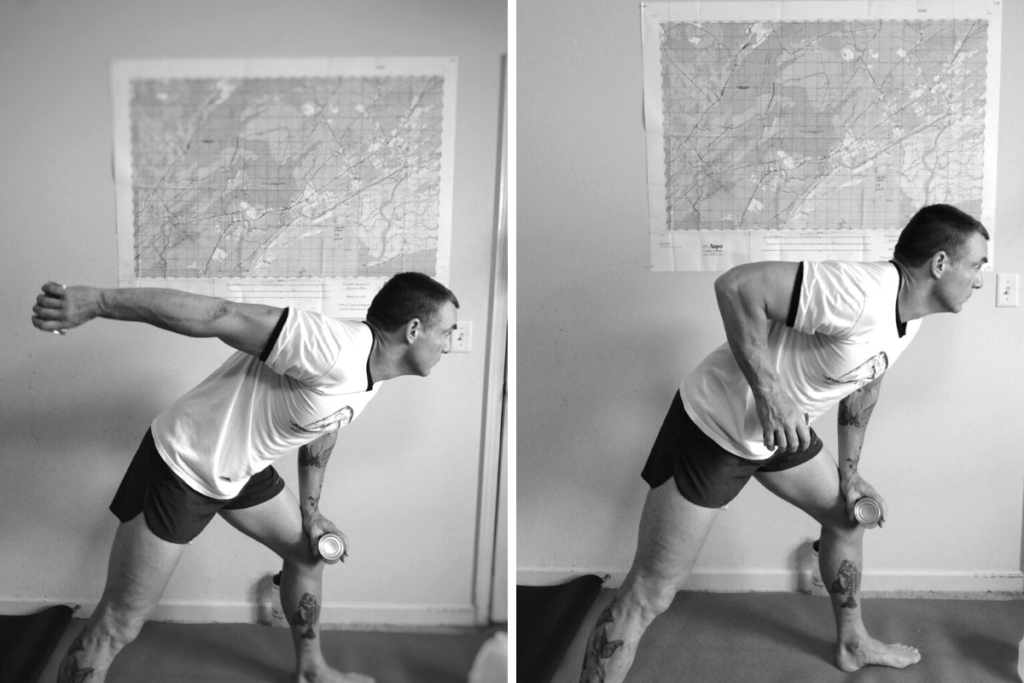
Tricep Kickbacks
Stagger your stance with your left foot in front of the right foot. Hinge forward at your hips, with your back flat. Place your left hand on your left thigh for support. With the weight in your right hand, bring your upper arm up so that it is parallel to the floor. Then, extend your hand/lower arm until it is in a straight line with your upper arm. As you lower the lower arm back to the starting position, be sure to keep your upper arm parallel to the floor!
Work your way through this workout as many times as you’d like. As always, I typically suggest 48 hours recovery time between strength training workouts of the same muscle group, so I’d sandwich a lower body day (coming soon!) or a rest day in between upper body weight days.
Stay safe everyone. Keep your heads up, and wash your damn hands.
Love,
Coach Heather
Heather Hart is an ACSM certified Exercise Physiologist, NSCA Certified Strength and Conditioning Specialist (CSCS), UESCA certified Ultrarunning Coach, RRCA certified Running Coach, co-founder of Hart Strength and Endurance Coaching, and creator of this site, Relentless Forward Commotion. She is a mom of two teen boys, and has been running and racing distances of 5K to 100+ miles for over a decade. Heather has been writing and encouraging others to find a love for fitness and movement since 2009.
Leave a Reply